A sample DeFi Staking project with Client ans Server side code.
- Open the project with your prefered IDE (Like VS Code).
- Open a terminal, and go inside the root directory.
- Install all dependencies by typing
npm install. - create the
.envfile on the root directory of the project and populate these variables:COINMARKETCAP: Coinmarketcap API to use for live gas price.INFURA_API: Infura API Key to provide a Blockchain node.MAIN_ACCOUNT: The private key of the main accout which will store yourRewardToken.
- Install Metamask extension in your browser (Chrone is the best choice).
- Get fake
MATIC tokenfrom some faucet website like Option1 or Option2. - Create more accouts and transfer some
MATIC Tokento them. - Compile hardhat project by typing
npx hardhat compile. - Run test case by typing
npx hardhat test. - Deploy the Smart Contract on
Mumbai Testnetby typingnpx hardhat run scripts/Deploy --network mumbai. - Copy both
RewardTokenandStakingdeployment address somewhere. - Replace in the
clientdirectory in all components that require these two contract address with the deployed one. - Move to client directory by typing
cd client. - Install all dependencies by typing
npm install. If yarn is required, install it by typingnpm install --global yarn. - Run App in development mode by typing
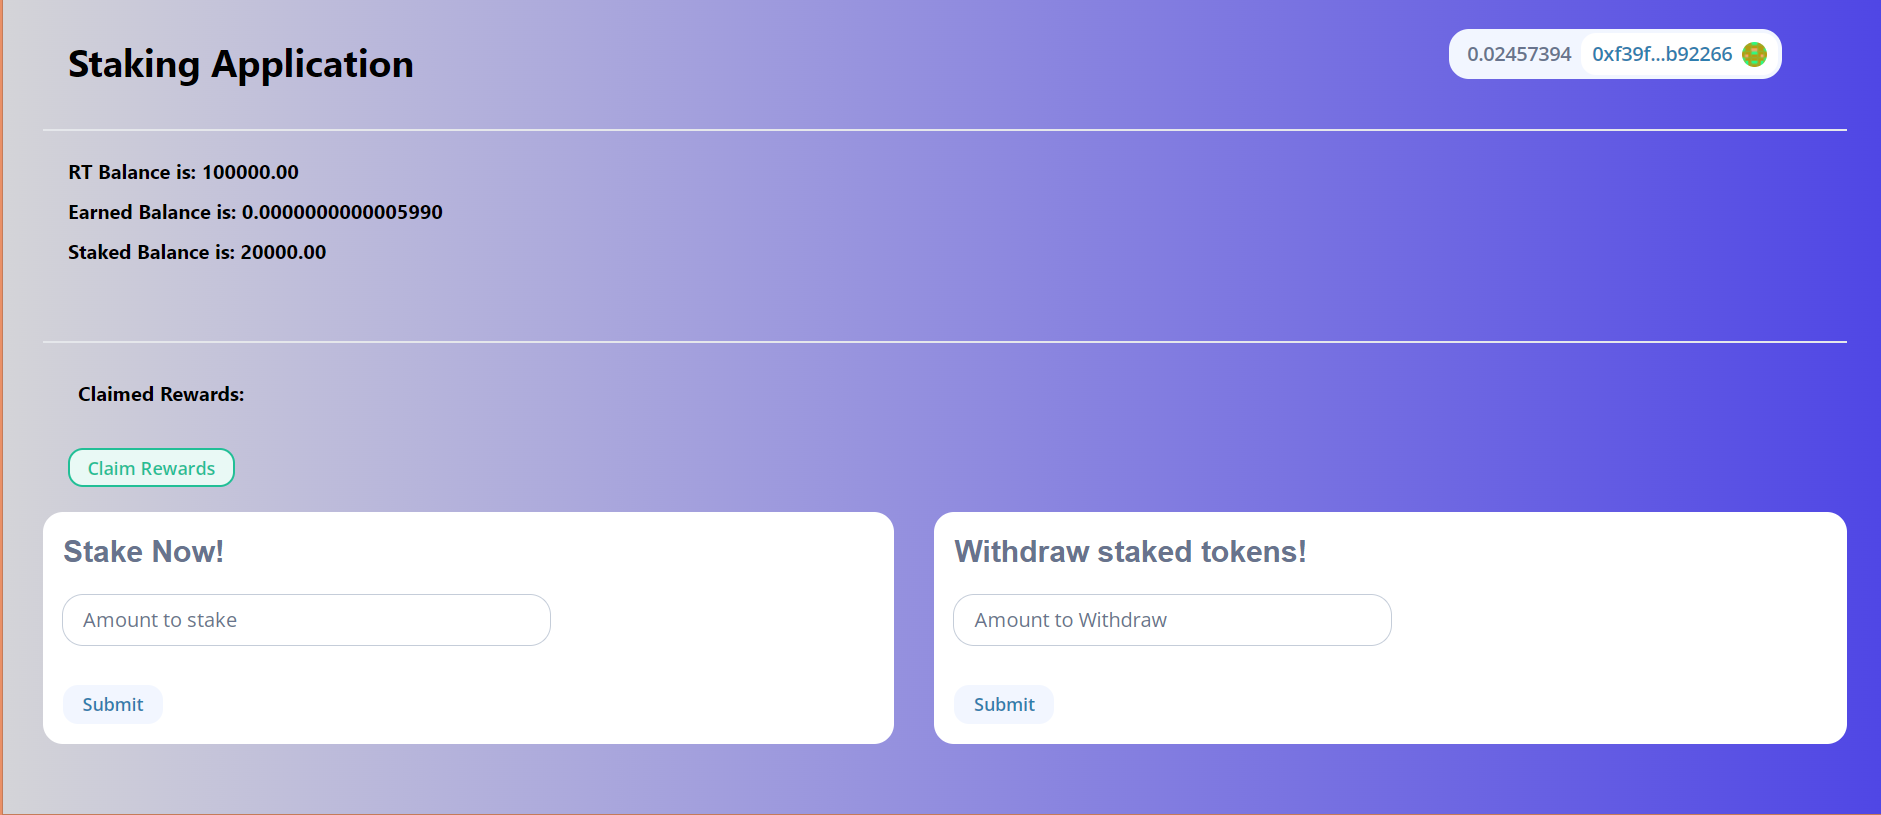
npm run dev. - Connect the DApp with Matamask wallet.
- Import
Reward Tokenin the Main Account added before to seeRTtoken balance. - Transfer some
Reward TokenorRTto others account, and then import on thenRewardTokencontract address to see token sent. - Send some token to
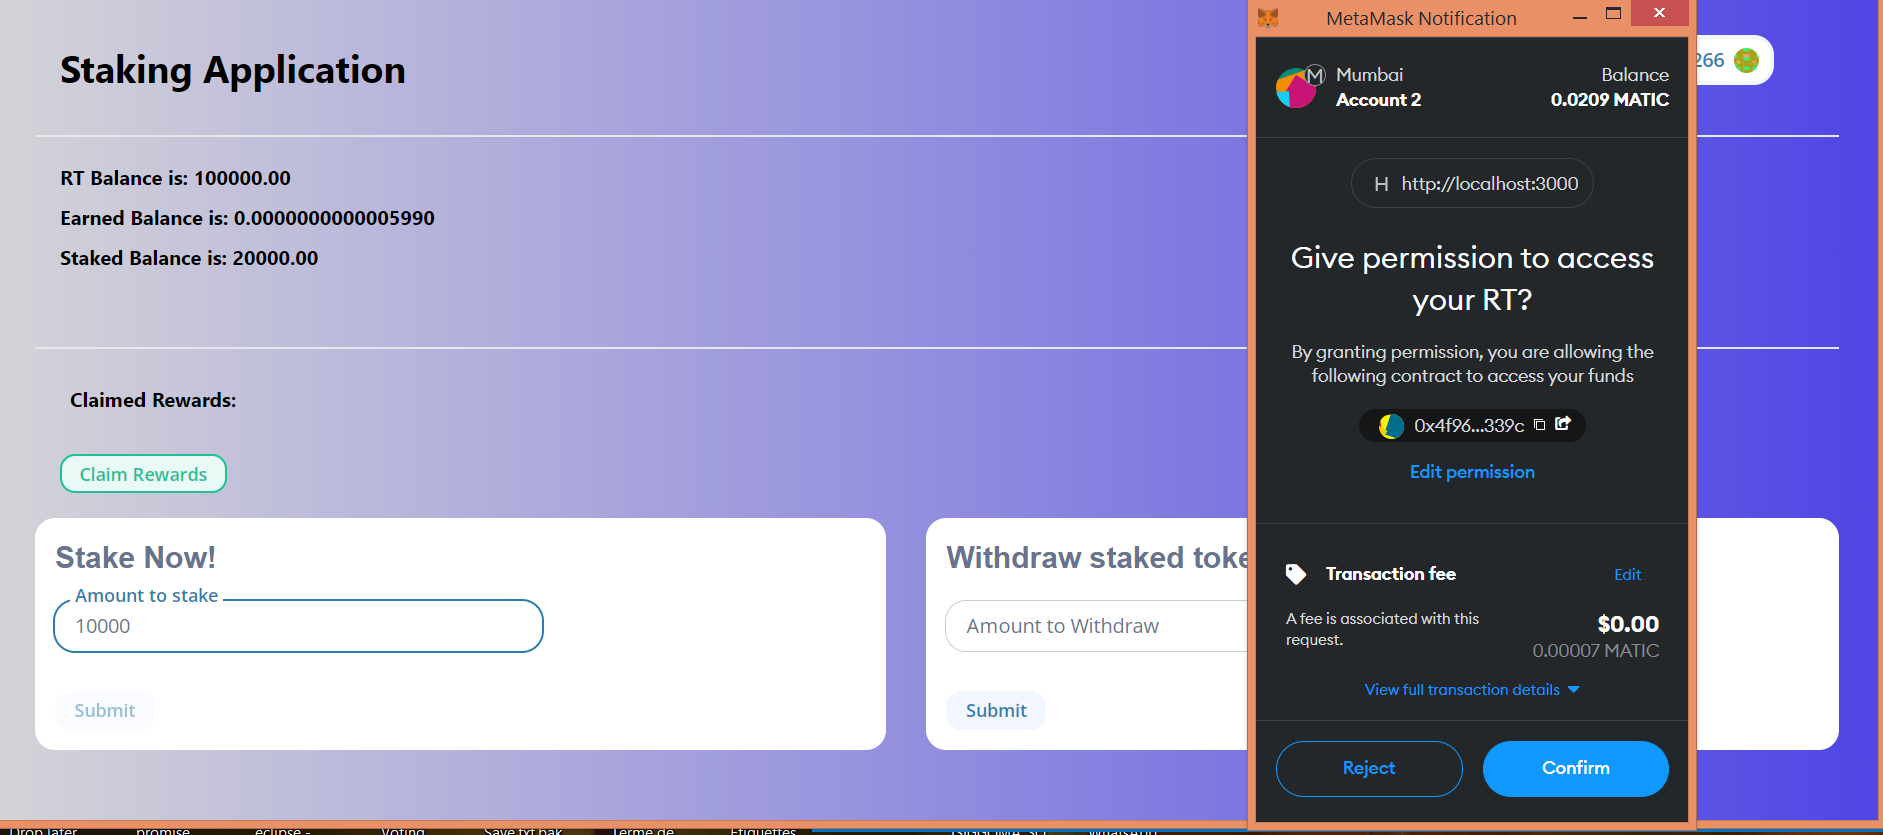
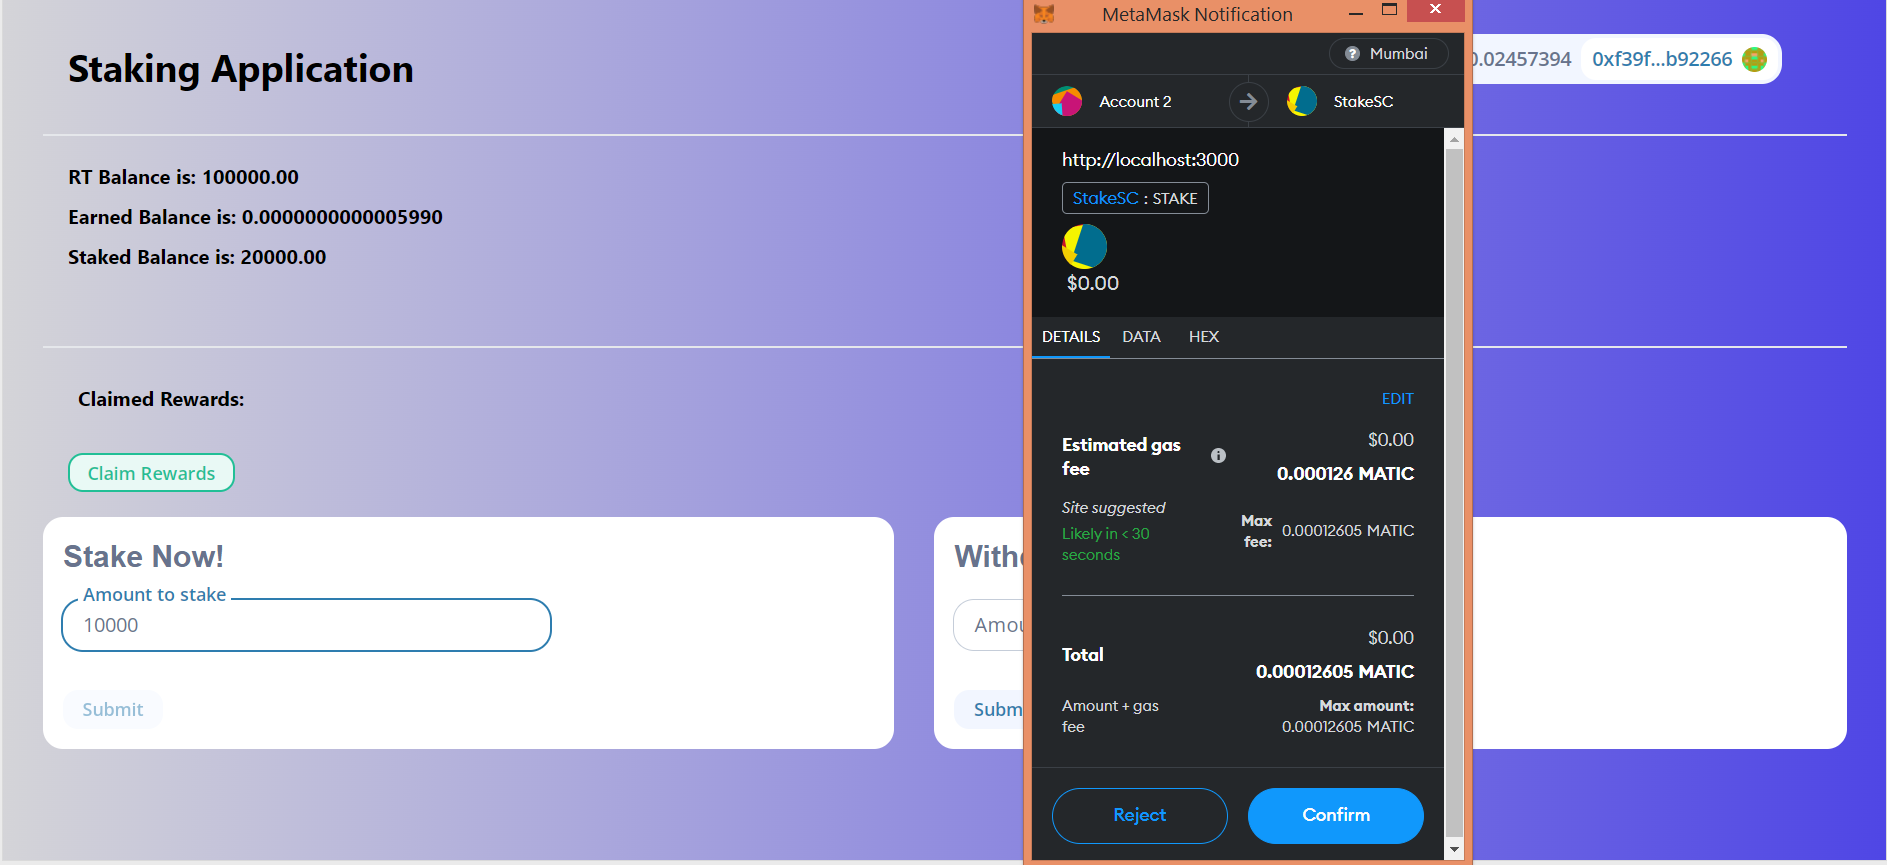
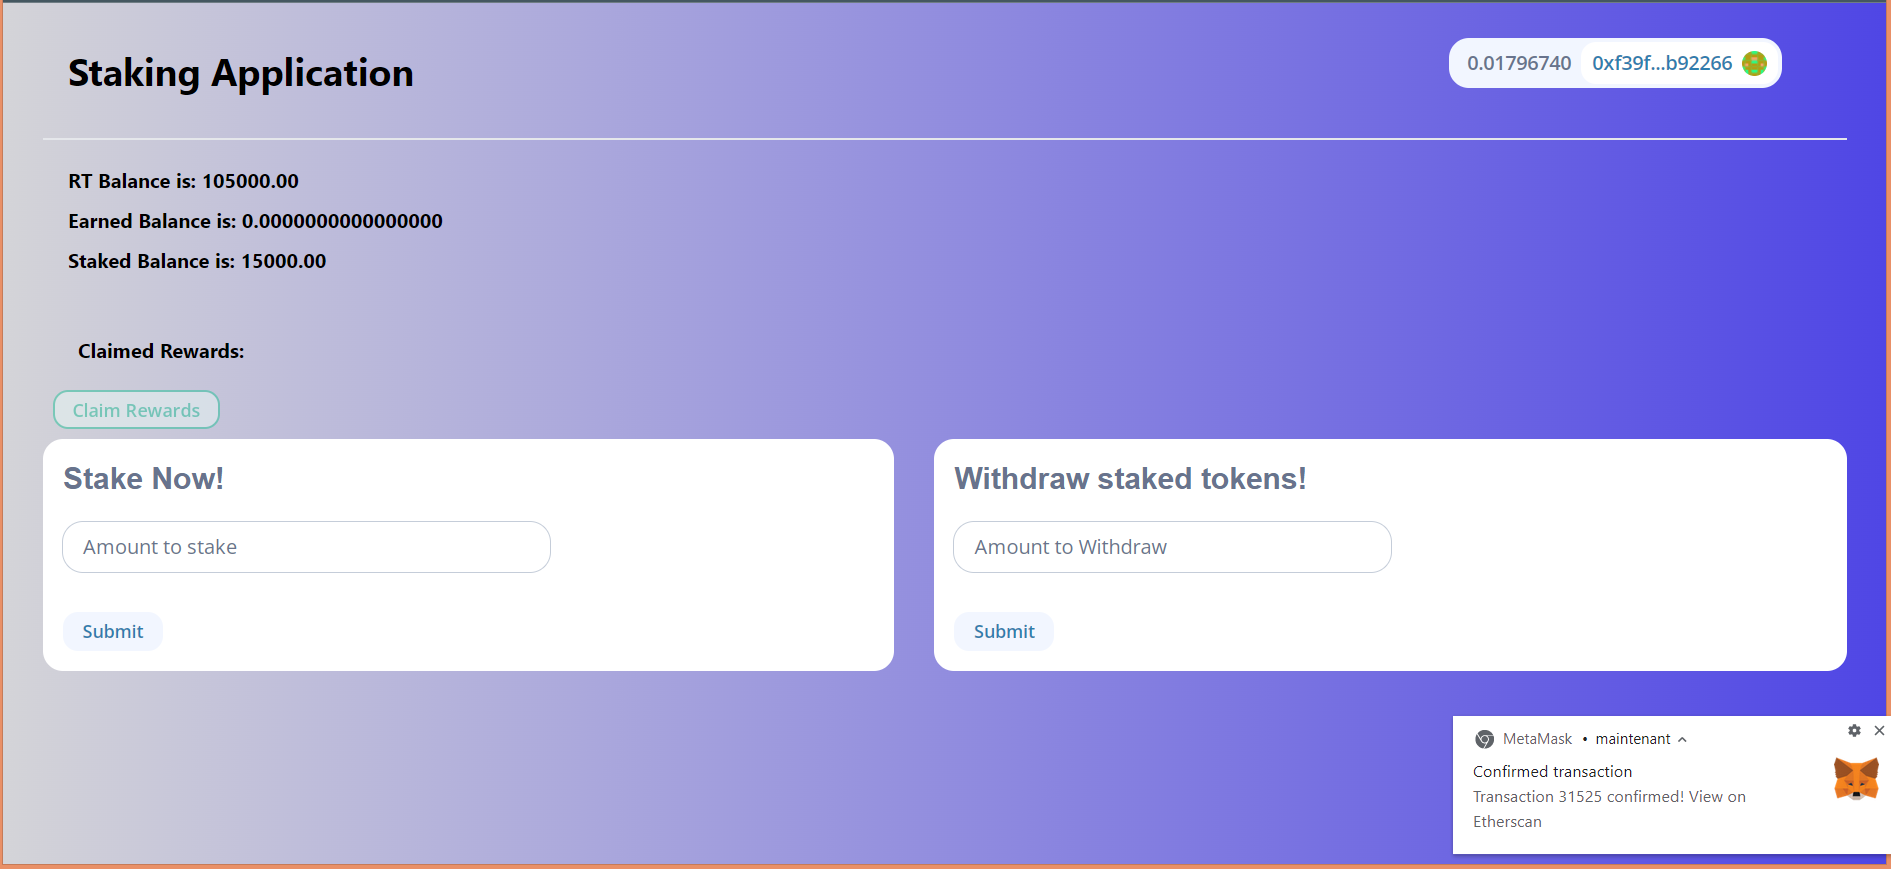
Staking Contractto be used for rewards. - Stake token from differents accounts.
- Perform
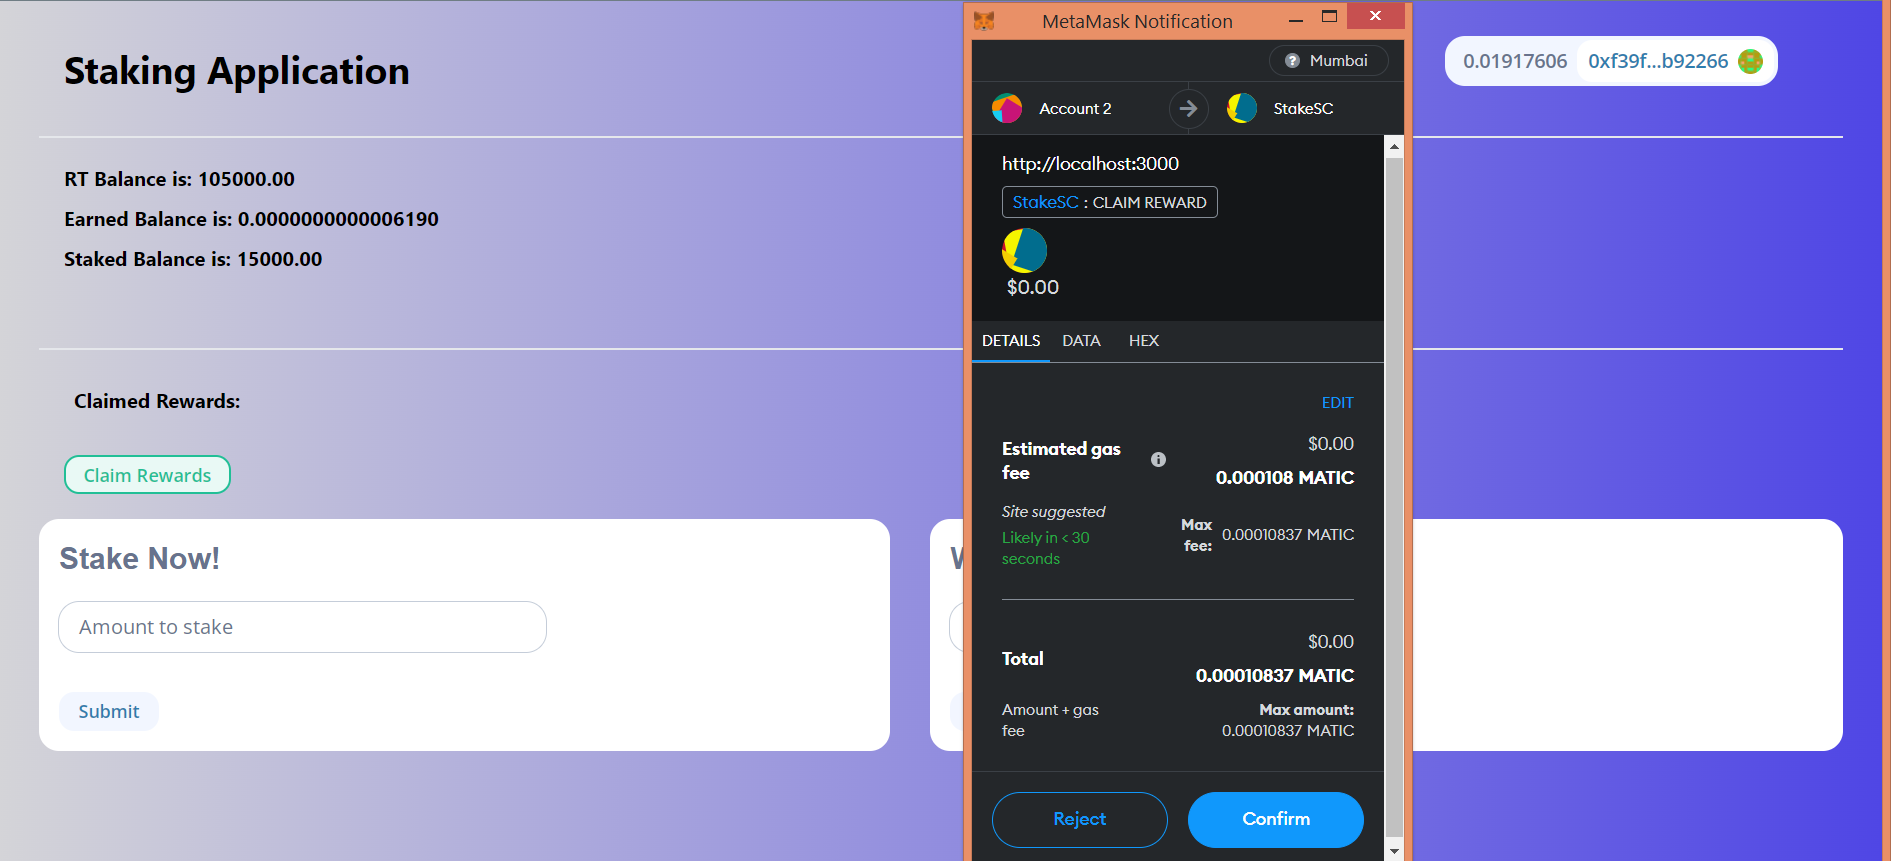
Claim Reward, to get back the earn to user account. - Finally,
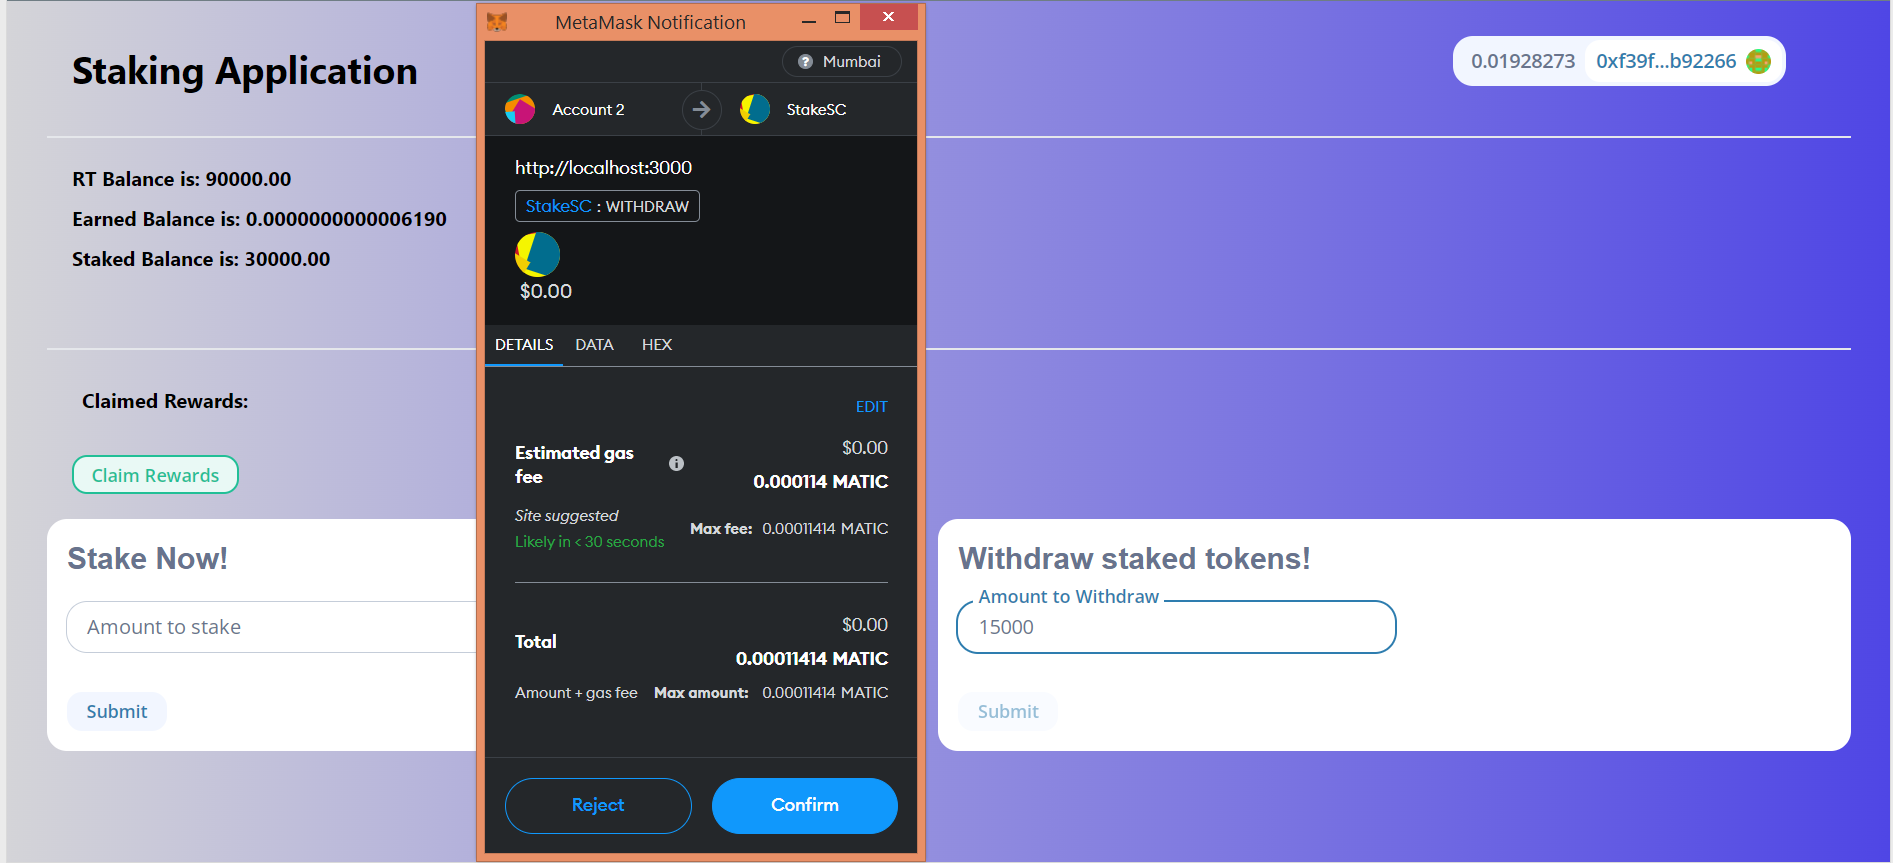
WithrawRT token to Unstake tokens.
- Writting Smart Contract on Remix IDE.
- Testing Smart Contract Behaviour on Remix IDE.
- Setup Hardhat project.
- Writting test cases.
- Setting up Metamask Wallet.
- Deploy the Smart Contract on Testnet (Mumbai, Goerli or other testnets).
- Run client side.
- Test Stake Defi DApp.
Thanks to Sanjeevan for his amazing explanations.